


“Placed your robot vacuum on the dock, but the light won’t turn on?” Few things are more annoying than coming home to dirty floors because your RoboVac, Roomba, Shark, or Narwal refused to charge. Surveys show battery or docking faults cause nearly 4 in 10 service calls for robot vacuums.
This article breaks down the real reasons behind robot vacuum not charging, from dirty contacts to aging batteries. You’ll get step-by-step fixes, a quick brand-specific troubleshooting guide, and see how advanced models like Narwal Flow and Freo Z Ultra use smart battery management to avoid these headaches altogether.
Why Is My Robot Vacuum Not Charging?
Experiencing issues like robot vacuum not charging, roomba won't charge, or shark robot vacuum not charging? These problems are common across many brands including Lefant, iRobot Roomba, Roborock, and Samsung robot vacuum. Whether your robot vacuum charger seems fine or you face specific errors like roomba not charging on home base, the root causes—battery aging, dirty contacts, software glitches—are similar. We'll cover what to do no matter which robot vac you own.
- Robot Not Turned On or Improperly Docked: Your robot vacuum needs to be turned on and properly seated on the dock to charge. If it’s powered off or not aligned correctly, it won’t make a connection with the charging contacts. Think of it like plugging in your phone—if the cable isn’t fully inserted, it won’t charge!
- Battery Degradation: Just like your phone battery, robot vacuum batteries don’t last forever. Over time, they lose their ability to hold a charge. If your robot’s battery is a few years old, it might not charge fully or could die quickly after cleaning. It’s like an old car battery that just can’t hold a charge like it used to.
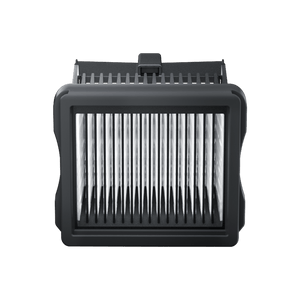
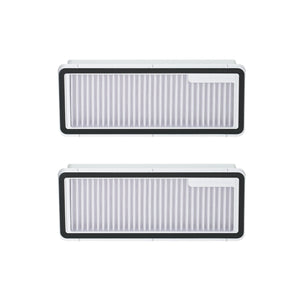
- Dirty Charging Contacts: Dust, dirt, and grime can build up on the charging contacts—both on the robot and the dock. When this happens, the electrical connection gets blocked, and your robot won’t charge. It’s like trying to plug in a dusty power cord—it just doesn’t work well.
- Faulty Charging Dock: If the charging dock is damaged or malfunctioning, it won’t send power to your robot. This could be due to visible damage (like frayed wires or broken parts) or internal issues you can’t see. Imagine trying to charge your phone with a broken charger—it’s not going to work.
- Software Glitches: Sometimes, the robot’s software gets a little buggy and stops recognizing the dock. This can happen after a software update or just from regular use. It’s like when your computer freezes and needs a restart to work properly again.
- Power Supply Issues: If the dock isn’t getting power, your robot won’t charge. This could be because the power outlet isn’t working, the adapter is faulty, or the cables are damaged. It’s like trying to charge your laptop in a dead outlet—no power, no charge.
- Faulty Battery or Internal Components: Sometimes, the battery itself or other internal parts (like wiring) can fail. This might be due to wear and tear or a manufacturing defect. It’s like when your car’s engine stops working—it’s not something you can fix easily.
- Environmental Factors: Extreme temperatures (too hot or too cold) or high humidity can mess with your robot’s ability to charge. Batteries and electronics don’t like extreme conditions, so if your robot is in a hot garage or a damp basement, it might struggle to charge.
- Low-Quality or Incompatible Chargers: Using a charger that’s not designed for your robot can cause charging issues. These chargers might not provide the right amount of power, so your robot won’t charge properly. It’s like using a cheap knockoff charger for your phone—it might not work as well.
- Obstructions or Blockages: If something’s blocking the robot’s path to the dock or debris is stuck in the charging contacts, it won’t charge properly. It’s like trying to plug in a cable with crumbs stuck in the port—it just won’t connect.
- Firmware or Hardware Malfunctions: In rare cases, a software bug or hardware issue might be the problem. This could be due to a glitch in the system or a damaged component. It’s like when your computer crashes and needs professional help to fix.
By understanding these common causes, you can get a better idea of why your robot vacuum isn’t charging. Once you know the issue, you can take the next steps to fix it and get your robot back to cleaning!
How Do I Troubleshoot My Robot Vacuum When It Won’t Charge?

If you find your robot vacuum won't charge or you encounter issues like lefant robot vacuum not charging or samsung robot vacuum not charging, try these troubleshooting steps. Start by ensuring the vacuum is firmly on the charging dock and the robot vacuum charger indicator shows charging. For brand-specific issues such as “roborock not charging” or “shark robot vacuum not charging”, consult your user manual for reset instructions. Power cycle the dock, clean all contacts, and check that your outlet is powered. For errors seen in models like irobot roomba, a combination of cleaning, battery replacement, or software update often resolves charging failures.
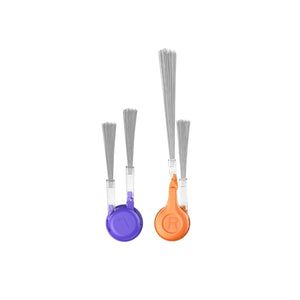
- Clean the Charging Contacts: Dust and grime can build up on the charging contacts, blocking the connection. Just turn off your robot, unplug the dock, and gently wipe the contacts with a dry cloth or soft brush. Plug it back in and see if it charges—it’s like cleaning the charging port on your phone!
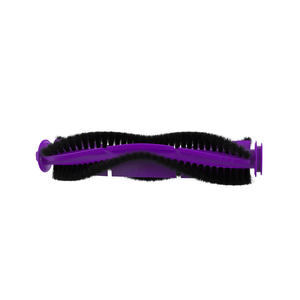
- Replace the Battery: If your robot’s battery is old or worn out, it might not hold a charge anymore. Check your manual to see if you can replace the battery yourself. If so, order a new one from the manufacturer and follow the instructions to swap it out. If not, reach out to customer support for help.
- Inspect and Replace the Charging Dock: Take a close look at your charging dock. If you see frayed wires, broken parts, or discoloration, it might be time for a new one. Order a replacement dock, set it up on a flat surface, and make sure it’s plugged into a working outlet. Easy peasy!
- Perform a Software Reset: Sometimes, your robot just needs a quick reset to fix a software glitch. Check your manual for instructions—it usually involves holding down a button for a few seconds. After resetting, place your robot on the dock and see if it starts charging.
- Update the Software: Software updates can fix bugs and improve performance. Check your robot’s app or manual to see if there’s an update available. Install it, and your robot might start charging like new again.
- Check the Power Supply: Make sure the dock is plugged into a working outlet. Test the outlet with another device to confirm it’s providing power. If the power adapter or cables are damaged, replace them. It’s like checking if your phone charger is plugged in properly!
- Let the Robot Cool Down: If your robot feels hot to the touch, it might have stopped charging to protect itself. Turn it off and let it cool down for 30-60 minutes. Once it’s cooled, try charging it again.
- Clear Obstructions: Check if anything is blocking your robot’s path to the dock. Clear away any debris or objects, and make sure the dock is on a flat, stable surface. A clear path means your robot can dock and charge without any issues.
- Contact Customer Support: If you’ve tried everything and your robot still won’t charge, it’s time to call in the pros. Reach out to the manufacturer’s customer support for help. If your robot is under warranty, you might even get a free repair or replacement.
By following these steps, you can troubleshoot and fix most charging issues with your robot vacuum. And if all else fails, don’t hesitate to reach out to customer support—they’re there to help!
Brand-Specific Charging Problems and Fixes
Some charging problems are unique to certain brands or models. Here are common cases and quick fixes:
|
Model |
Common Symptom |
Quick Fix |
|
Xiaomi Mi Robot Vacuum |
Not charging |
Check dock alignment, clean charging contacts, and reset via Mi Home app. Replace adapter if issue persists. |
|
Deebot N79 |
Not charging on dock |
Place dock on a flat surface, clean charging plates, and press the reset button (inside dustbin compartment). |
|
Lefant M210 |
Red light flashing, not charging |
Often indicates battery error. Remove and reinsert the battery, or replace if flashing continues. |
|
Eufy RoboVac 11S |
Red light while charging |
Usually overheating or battery fault. Let it cool for 30 minutes, then retry. Replace battery if red persists. |
If these fixes don’t solve the issue, contact customer support for your model or consider a battery replacement.
But technical steps aren’t the only way to learn. Many robot vacuum owners share their real-world fixes in forums and user groups — and those tips often solve problems faster than manuals. Let’s look at some of the most common community insights.
Community Tips: Real Experiences on Charging Problems
Robot vacuum charging issues are so common that entire Reddit threads and home tech forums are dedicated to them. Many users have shared their own “trial and error” fixes, which can often save time before contacting customer support. Here are a few highlights from real experiences:
- “My Roomba wouldn’t charge even after cleaning the contacts. Replacing the battery fixed it instantly.” — Reddit user
- “My Shark vacuum dock lights were on but the battery never filled. Turned out my wall outlet wasn’t working. Always check power first!” — Homeowners Forum
- “I had to reset my Narwal Flow after a software update. Once I did, it started charging perfectly again.” — Narwal user group
- “Roborock kept saying ‘not charging’ until I wiped the dock contacts with rubbing alcohol. Works like new now.” — Tech forum comment
These stories remind us that many “big problems” actually have very simple fixes — often involving cleaning, resetting, or replacing one small part.
Pro Tips from Experts on Charging Problems
Sometimes the difference between a temporary fix and a lasting solution comes down to a few expert-approved practices. Here are four professional tips to keep your robot vacuum charging reliably:
- Keep Battery Above 20%: Deep discharges shorten lithium-ion battery life. Try to return your robot to the dock before it drains completely.
- Use OEM Chargers Only: Third-party docks or adapters may deliver unstable power. Always use the official charging station recommended for your model.
- Protect the Dock from Humidity: Moisture can corrode charging contacts and block the current. Place the dock in a dry, ventilated spot — not in kitchens, bathrooms, or damp basements.
- Update Firmware Regularly: Manufacturers often release fixes for charging bugs. Check the app monthly to ensure your vacuum is running the latest version.
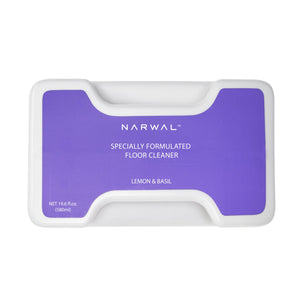
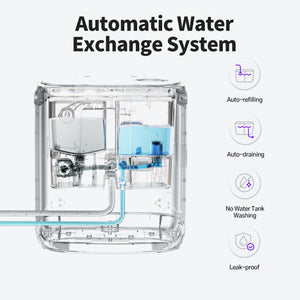
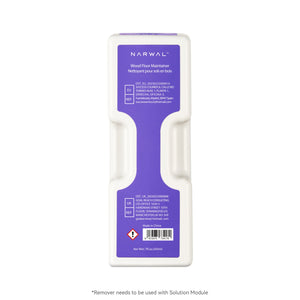
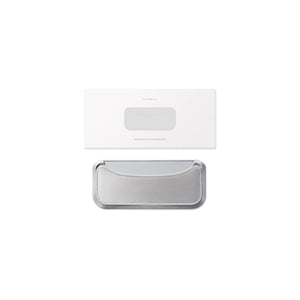
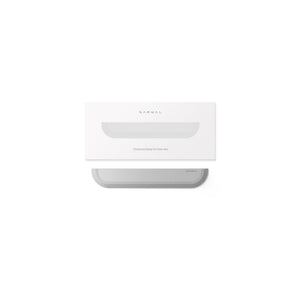
For example, Narwal Flow integrates a 6400mAh battery with an intelligent charging base that dries components with 104°F warm air, helping prevent contact corrosion and extending long-term battery health.
How Can I Prevent My Robot Vacuum from Having Charging Problems?

Yes, there are various precautions you may take to avoid future charging troubles with your robot vacuum. To avoid encountering problems like robot vacuum battery not charging or my robot vacuum won't charge in the future, clean your charging station regularly—even for models such as shark robot vacuum and roborock. Use OEM batteries and always store your vacuum in a temperate, dry environment. For users asking “should I keep my robot vacuum plugged in?”—it’s usually best to keep your robot vacuum docked so it's ready for the next cleaning session and battery health is maintained.
Regular maintenance tips
- Clean the charging contacts: Check and clean the vacuum and charging dock's charging contacts on a regular basis. Dust and dirt that can accumulate and obstruct the electrical current should be removed using a dry cloth or a gentle brush. This improves connection quality and provides consistent charging.
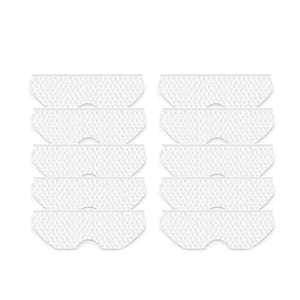
- Empty the dustbin and clean the brushes: Make it a practice to empty the dustbin and clean the brushes after each use. This daily habit will help prevent debris from accumulating, keep your vacuum cleaner clean and running efficiently, and extend its life.
- Check for software updates: Regularly check and install software updates released by the manufacturer. These updates are designed to fix potential problems and may provide performance improvements, ensuring that your vacuum cleaner is always running in the latest and most optimized state.
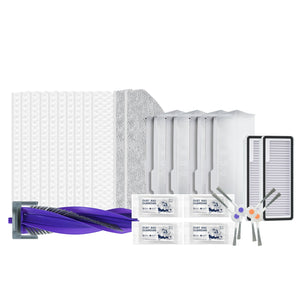
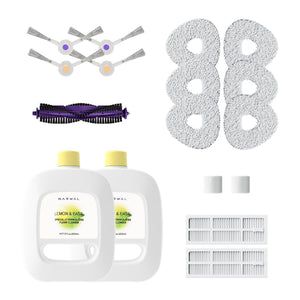
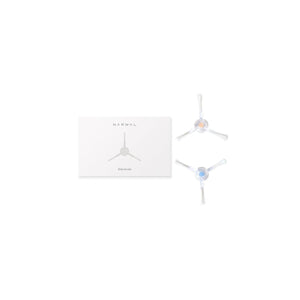
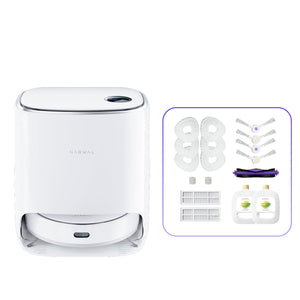
- Purchase the correct battery: When purchasing a battery for your robot vacuum cleaner, always confirm that it is compatible with your model of vacuum cleaner. It is recommended to visit the manufacturer's official website or authorized sales point to obtain accurate information on the correct battery model to ensure the normal operation and efficient cleaning ability of the vacuum cleaner.
Best practices for battery care
Proper battery care can significantly extend the lifespan of your robot vacuum and prevent charging issues.
- Avoid Deep Discharges: Try to keep the battery charge above 20% to prevent deep discharges, which can damage the battery over time.
- Store in a Cool, Dry Place: Store your robot vacuum in a cool, dry place when not in use. Extreme temperatures can negatively affect battery performance.
- Use the Vacuum Regularly: Regular use helps maintain the battery’s health. Avoid leaving the vacuum unused for long periods.
Tips for prolonging the lifespan of your robot vacuum
Taking care of your robot vacuum will not only prevent charging issues but also prolong its overall lifespan.
- Follow the manufacturer’s guidelines: Always follow the maintenance and usage guidelines provided by the manufacturer. This ensures that you are taking the right steps to care for your device.
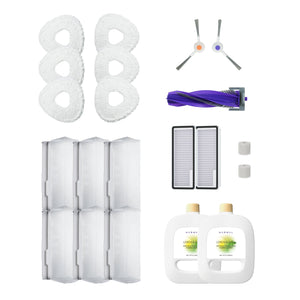
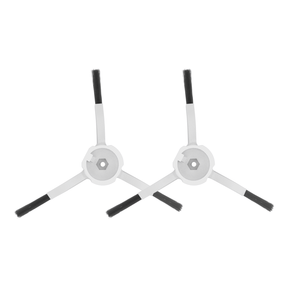
- Inspect for wear and tear: Regularly inspect your robot vacuum for any signs of wear and tear. Replace worn-out parts as needed to keep the vacuum in good working condition.
- Optimize cleaning schedules: Use the scheduling feature to optimize cleaning times. This helps prevent overuse and allows the vacuum to perform efficiently.

How Does Narwal Solve Common Robot Vacuum Charging Problems?
Nothing’s more frustrating than a robot vacuum that won’t charge. Narwal takes this pain point seriously, designing its robots to stay powered up and ready for action. Here’s how their flagship models tackle charging challenges:
Narwal Freo Z Ultra
Built for endurance, the Narwal Freo Z Ultra runs for hours on a single charge and uses fast-charging technology to minimize downtime. Its Intelligent Battery Management System (BMS) protects the battery from overcharging and deep discharging, keeping performance consistent for years. With AI-powered path planning, it avoids wasting energy on unnecessary passes—maximizing every drop of power.
[cta:narwal-freo-z-ultra-robot-vacuum-mop]
Narwal Flow
As Narwal’s latest innovation, Narwal Flow pushes charging efficiency even further. The FlowWash system keeps the mop clean in real time, preventing dirt buildup that often causes unnecessary battery drain. CarpetFocus technology boosts suction only when carpets are detected and automatically lifts the mop 12mm to save power on transitions. The DualFlow tangle-free system eliminates brush jams—reducing sudden shutdowns that mimic charging failures. And with a 6400mAh battery plus quick recharge cycle, Flow is always ready to resume cleaning without long waits.
[cta:flow-robot-vacuum-and-mop]
Smart Docking & Auto-Resume
Both Freo Z Ultra and Flow automatically return to their dock when battery is low, recharge efficiently, and resume cleaning exactly where they left off. No babysitting, no restarts.
With Narwal, charging problems don’t slow you down—whether it’s Freo Z Ultra’s reliable BMS or Flow’s next-gen AI and energy-saving design, your floors stay spotless and your robot stays powered.
Keep Your Robot Vacuum Charging Smoothly
Keeping your robot vacuum charged and running smoothly doesn’t have to be a hassle. By regularly maintaining the charging contacts, taking care of the battery, and staying on top of software updates, you can avoid common charging issues. If your vacuum does encounter problems, following the troubleshooting steps can get it back up and running quickly.
Ready to ensure your robot vacuum stays in top shape? Start with these tips today and enjoy a cleaner home effortlessly!
FAQs
Why is my robot vacuum not working?
Your robot vacuum might not be working due to a variety of reasons such as dead battery, dirty sensors, or software issues. Check the battery, clean the sensors, and reset the software to troubleshoot.
Should robot vacuums always be charging?
It’s best to keep your robot vacuum on its charging dock when not in use to ensure it’s always ready for the next cleaning session. This practice helps maintain the battery life.
How do I know if my robot vacuum is charging?
Most robot vacuums have an indicator light that shows when they are charging. Check the user manual for your specific model to understand the charging indicators.
What is the battery life of a robot vacuum cleaner?
Most robot vacuum batteries last 1–3 years, depending on usage frequency, cleaning environment, and maintenance.
How many years does a robot vacuum usually last?
With regular care, a robot vacuum can last 5–7 years. Proper battery replacement and part maintenance extend its lifespan.
How long does a robot vacuum battery last?
On average, a battery supports 300–500 full charging cycles before noticeable decline.
How long does it take for a robot vacuum to charge?
Most models require 3–5 hours to fully recharge, depending on battery size and charging technology.
How can I tell if my robot vacuum is charging?
Check the indicator light or app status. Most devices show a pulsing or solid light when charging correctly.
How do I know if my robot vacuum needs a new battery?
If the runtime drops below 20–30 minutes after a full charge, or if charging cycles fail repeatedly, the battery likely needs replacement.
How can I reset a robot vacuum battery?
Some models allow a soft reset by holding the power button for 10–20 seconds or by removing and reinserting the battery. Always consult the user manual.


