


Starting with your robot vacuum setup is easy, especially when following a clear routine. For Narwal vacuums, begin with the simple narwal setup by following the app guide, ensuring your robot is connected to Wi-Fi and ready to automate your cleaning routine. Whether you’re using a Narwal or looking to learn how to use robot vacuum devices in general, correct setup is key for smooth daily cleaning. We'll also cover tips on maintaining your robot vacuum for optimal performance and troubleshooting common issues.
With the right setup and regular maintenance, your robot vacuum will keep your home clean with minimal effort. Let's dive in and make your daily cleaning routines smarter and simpler!
Getting Started with Your Robot Vacuum
Before you dive into using your robot vacuum, it’s essential to get it set up correctly. Take these easy steps to get your vacuum prepared for cleaning your home effectively.
Choose the Best Robot Vacuum for Daily Cleaning
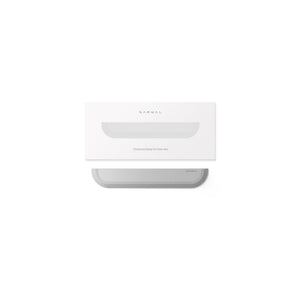
Finding the best robot vacuum for daily cleaning depends on your floor type, home size, and cleaning needs. Narwal offers several strong options designed to make daily routines effortless.
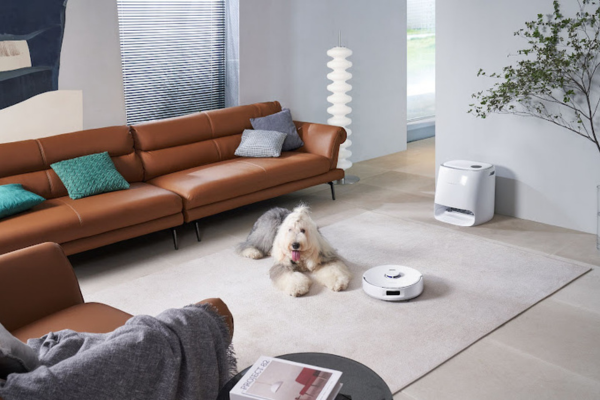
The Narwal Freo Z10 automatically adjusts between carpets and hard floors, ensuring consistent performance across different surfaces. Its advanced scrubbing system reaches into corners, while the anti-hair tangling design makes it a great fit for pet owners or households with long hair.
The Narwal Freo Z Ultra takes cleaning efficiency further with AI-powered navigation and real-time decision-making. Dual RGB cameras help it adapt to dirt types, while its self-cleaning and self-drying mop reduces maintenance — perfect for families who want convenience without extra work.
For those seeking maximum suction and advanced features, the Narwal Flow stands out. With 22,000 Pa Hyper Suction, real-time FlowWash mop self-cleaning, and CarpetFocus technology that doubles suction on rugs, it’s built for heavy-duty daily cleaning. Whether you have pets, mixed flooring, or high-traffic areas, the Flow delivers spotless results with minimal effort.
Together, these models are tailored to meet different lifestyles — from small apartments to large homes — ensuring your daily cleaning stays simple, effective, and stress-free.
[cta:narwal-freo-z10-robot-vacuum-mop]
[cta:narwal-freo-z-ultra-robot-vacuum-mop]
[cta:narwal-flow-robot-vacuum-mop]
Getting your robot vacuum ready for use is a simple but important task. Let’s walk through the key steps:
Connect Your Robot Vacuum to Wi-Fi
- Power On: Once you remove your robot vacuum from the box, set it on a level surface close to a power outlet. Press the power button to activate it. A sound or light will signal that it’s ready for setup.
- Download the App: Find the corresponding app for your vacuum (e.g., Narwal, Roborock, or eufy) from the Apple App Store or Google Play. Download it to your phone.
- Link the Vacuum to Wi-Fi: Launch the app and follow the steps to link your vacuum to your home Wi-Fi. Keep in mind that most robot vacuums work on 2.4 GHz networks. If you’re unsure, check your router settings or your vacuum’s manual for Wi-Fi specifications.
- Verify the Connection: After entering your Wi-Fi details, the app will confirm that the connection is successful. The vacuum may beep or light up to indicate it’s now connected and ready for use. You can now control it from anywhere using your phone.
Install the App and Set Preferences
- Launch the App: Launch the app and follow the prompts to sign up or log in. This will unlock all settings and features of your robot vacuum.
- Add the Vacuum: On the home screen, look for an option to add your robot vacuum. This could appear as “Set Up Device” or “Begin Setup.” Select this option, and follow the app’s instructions to pair the vacuum with your phone.
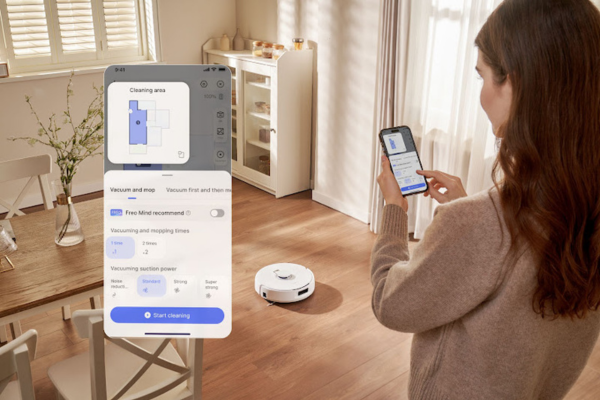
- Customize Your Settings: Take some time to explore the app and set preferences for cleaning modes, schedules, and even no-go zones. This is the perfect opportunity to customize your cleaning routine so the vacuum can work according to your specific needs.
Charging the Vacuum Before First Use
- Place the Vacuum on its Charging Dock: Position the vacuum on its charging dock in a place that has adequate space around it. Ensure the dock is connected to a power outlet. Ideally, place it in a spot where it can easily navigate to and from the dock after cleaning.
- Let It Charge Fully: Most robot vacuums come with a partial charge, but it’s a good idea to let it charge fully before its first use. Charging typically takes around 3-4 hours, depending on the model.
- Check Charging Progress: The vacuum will indicate its charging status, either with a light or a message in the app. Once it’s fully charged, you’re all set to start cleaning.
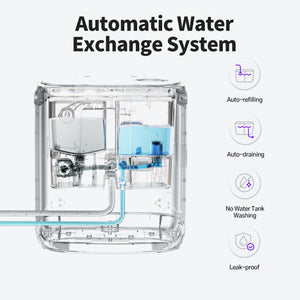
When the battery is low, the Narwal Freo Z Ultra vacuum automatically heads back to its charging dock. The app will notify you when the vacuum is fully charged and ready for its next cleaning session.
Setting Up Your Robot Vacuum’s Cleaning Schedule
Scheduling your robot vacuum cleaning is essential for maintaining a clean home without effort. Use your robot vacuum's app to set a robot vacuum schedule, choosing the time and frequency that fits your day. Adjust the schedule as needed for areas with high traffic or if you live with pets. Consistent scheduling is at the heart of an effective vacuum cleaning routine.
Access the Scheduling Feature
- Open the App: After you’ve connected your robot vacuum to the app, navigate to the main screen where you can control the vacuum.
- Locate the Scheduling Option: Most robot vacuum apps have a "Schedule" or "Cleaning Schedule" tab clearly displayed. Here, you can choose the exact times for your vacuum to begin cleaning on its own.
- Select the Desired Time: Pick a time that suits you, whether it's first thing in the morning, during your workday, or while you're sleeping. Once you’ve selected your preferred time, the app will prompt you to confirm the schedule. The robot vacuum will start cleaning on its own at the designated time, even if you’re not home.
Pro Tip: Set the cleaning schedule for a time when you know the floors won’t be crowded with pets or people. This allows the robot vacuum to navigate more freely without obstruction.
Adjust the Frequency of Cleaning
Choosing the right cleaning frequency for your robot vacuum depends on the size of your home and foot traffic. You can easily set the vacuum to clean daily, every other day, or weekly based on your needs.
Refer to the table below for specific recommendations tailored to different situations.
|
Situation |
Suggested Frequency |
Best Time to Run |
Additional Tips |
|
High Traffic Areas (Living Room, Kitchen, Hallways) |
Daily |
Early Morning, Late Evening |
Frequent cleaning will keep dust and debris under control. |
|
Moderate Traffic Areas (Bedrooms, Offices) |
Every Other Day |
Midday, Evening |
Less frequent cleaning works well for rooms with moderate use. |
|
Low Traffic Areas (Guest Rooms, Storage) |
Weekly |
Anytime |
Weekly cleaning is enough for less-used spaces. |
|
Homes with Pets |
Daily |
Early Morning, Late Evening |
Daily cleaning helps to manage pet hair and dander. |
|
Smaller Homes (Apartments) |
Every Other Day |
Anytime |
Every other day cleaning keeps smaller spaces clean without being too frequent. |
Choose Your Preferred Cleaning Modes
- Eco Mode (for Regular Cleaning): This mode is perfect for everyday maintenance. It uses less power, which is ideal for lighter cleaning tasks. It works well for removing dust, dirt, and small particles from hard surfaces.
- Max Mode (for Deep Cleaning): For areas that require more attention, like carpets or heavily soiled areas, Max Mode increases suction power. Use this mode if you have pet hair, stains, or high-traffic areas. While it uses more battery, it provides the deep clean needed for tougher messes.
- Edge Mode (for Walls and Corners): Edges and corners often collect dust and dirt that a standard vacuum might miss. Edge Mode allows your robot vacuum to clean along walls and furniture edges more effectively. This mode is ideal for areas around baseboards, under furniture, and along edges of rugs.
Optimizing the Cleaning Modes for Different Areas
- Living Room & Bedrooms: Use Eco Mode for regular cleaning. Let the robot clean when you're not around or resting, so it doesn’t interrupt you.
- High-Traffic Areas: For kitchens or hallways, Max Mode can be set for deeper cleaning. These areas tend to gather more debris and need more attention, so opt for this mode during regular cleaning cycles.
- Pet Areas: If you have pets, schedule cleaning during the day, particularly when they’re not in the room. Max Mode will help lift pet hair more efficiently, leaving your floors cleaner.
- Hardwood & Tile Floors: Use Eco or Edge Mode. These modes will keep your hard floors spotless without using excessive power.
Pro Tip: Many robot vacuums, such as the Narwal Freo Z Ultra, can automatically adjust suction power and cleaning mode based on the type of surface, optimizing battery use while maintaining cleaning performance.
Monitor and Adjust the Schedule as Needed
- Track Cleaning Progress: Many apps allow you to monitor cleaning sessions in real-time. You can track the areas the vacuum has covered and check its remaining battery. This ensures you're confident that the cleaning is being completed.
- Modify the Schedule: Life changes, and so do your cleaning needs. If you need to make adjustments—whether that’s changing the time of day, switching to a different cleaning mode, or adding extra cleanings—just update the schedule on the app.
Pro Tip: If the vacuum starts to miss spots or gets stuck in a certain area repeatedly, use the app to adjust the cleaning path or add virtual barriers to keep it on track.
By setting up and customizing your robot vacuum’s cleaning schedule, you’ll ensure your home stays clean with minimal effort. It's an easy and efficient method to keep your home clean daily.
Maximizing Robot Vacuum Efficiency: Essential Tips for Daily Use
To get the most from your robot cleaning home device, follow tips for using robot vacuum units efficiently. Maintain your Narwal by cleaning brushes and sensors, especially for edge cleaning—a common concern for owners asking which robot vacuums clean wall edges effectively or why their Dyson robot vacuum is not cleaning edges of rooms. Regular attention helps overcome weak suction and ensures thorough cleaning of wall edges and corners.
Clear the Area Before Cleaning
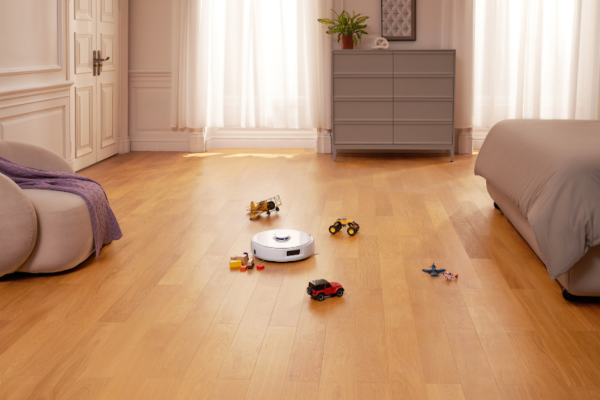
- Remove Obstacles: Ensure there are no obstacles, like wires, small toys, or furniture, that could block the vacuum’s path.
- Set Virtual Barriers: Use no-go zones to keep your robot away from sensitive areas, such as pet food bowls or fragile furniture.
Tailor the Cleaning Path
-
Focus on Key Areas: If your robot allows custom cleaning paths, direct it to areas that need extra attention. If your kitchen gets dirty quickly, schedule it for more frequent cleaning.
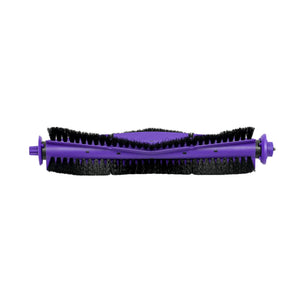
Maintain Brushes and Sensors
- Keep Sensors Clean: Regularly wipe down the sensors to ensure accurate navigation and efficient cleaning.
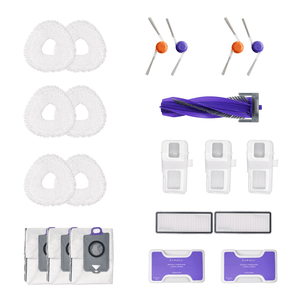
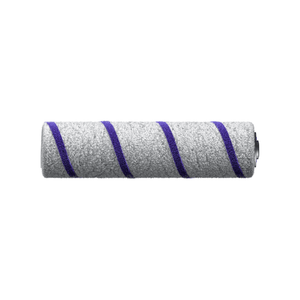
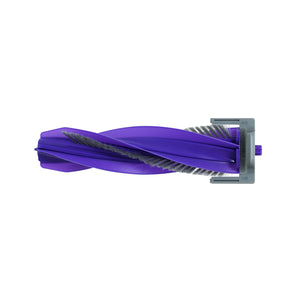
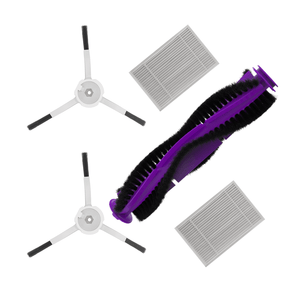
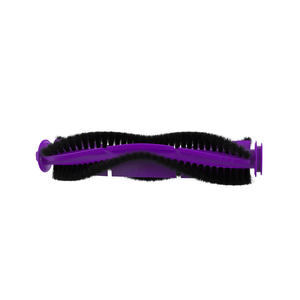
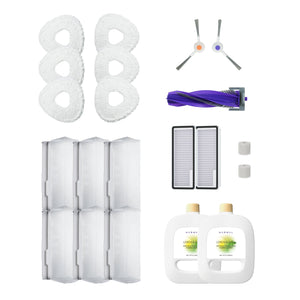
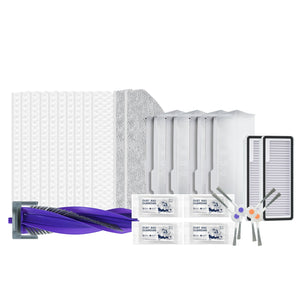
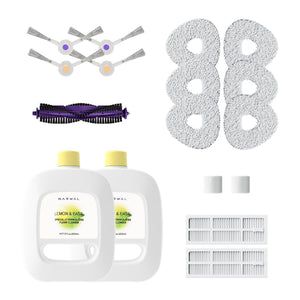
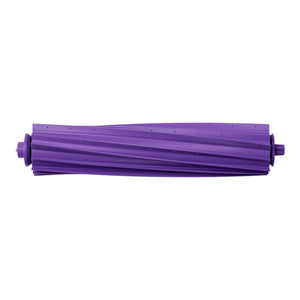
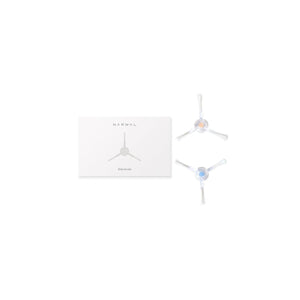
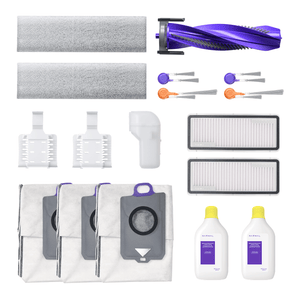
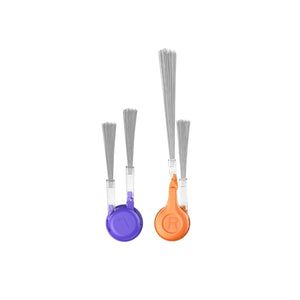
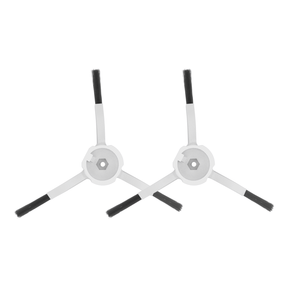
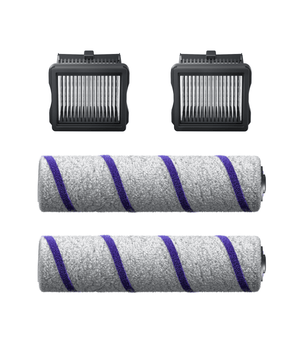
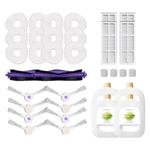
- Clean Brushes Frequently: Inspect the brushes after each cleaning to remove any hair or debris. This helps avoid blockages and keeps your vacuum working efficiently.
Daily Maintenance for Peak Performance
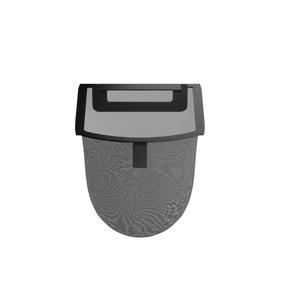
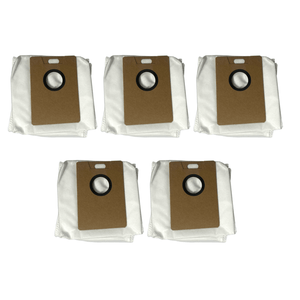
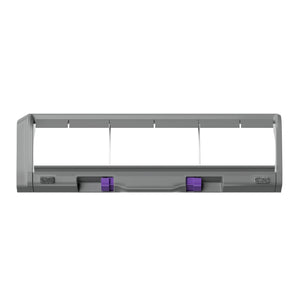
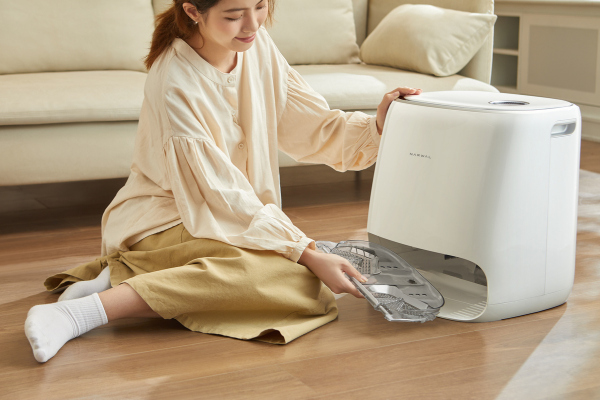
- Clear the dustbin: Remove debris after every cleaning to avoid overflow and keep suction strong. If your vacuum is larger, empty it every couple of days.
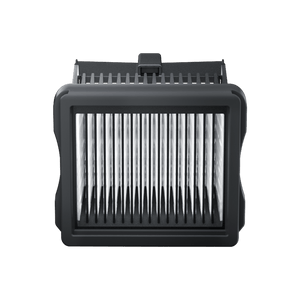
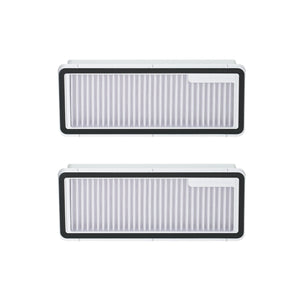
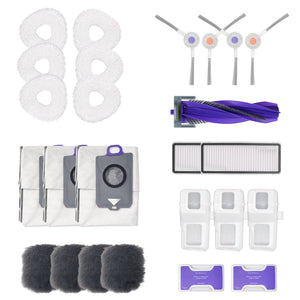
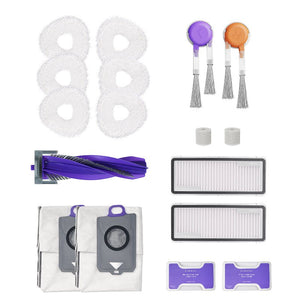
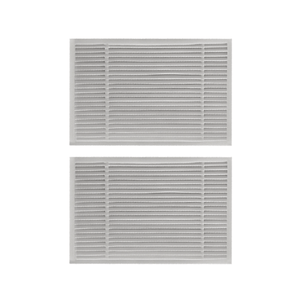
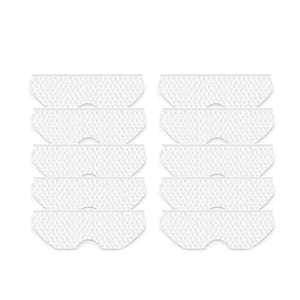
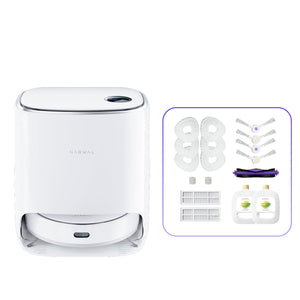
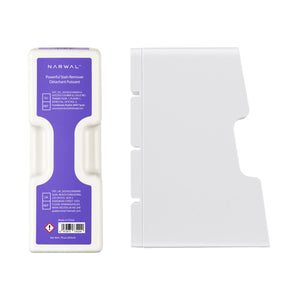
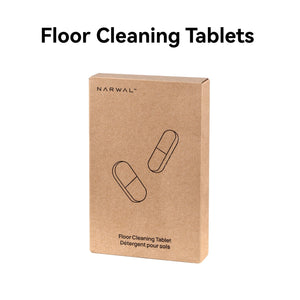
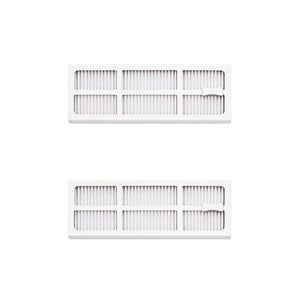
- Check Brushes and Filters: Clean the brushes and replace filters when needed to keep the suction strong and ensure optimal performance.
- Inspect the Wheels: Look for any debris or hair caught in the wheels, especially if you have pets, and remove it to keep the robot moving smoothly.
By following these straightforward steps, you’ll be able to maintain your robot vacuum in top condition, ensuring efficient daily cleaning with minimal effort.
Troubleshooting Common Issues
-
Vacuum Stops Mid-Cleaning: If your vacuum stops unexpectedly, check the battery level. When the battery runs low, return the vacuum to its dock to recharge.
If the vacuum is fully charged and still not working, check for clogs in the brushes or the dustbin. - Vacuum Gets Stuck: Occasionally, your robot vacuum may get stuck, especially in tight spaces. If this happens, remove any obstacles and reset the vacuum. Ensure the area is clear of cords and obstacles.
- Poor Suction Power: If the suction seems weak, it’s likely that the filter or brushes need cleaning. Make sure the filter is not clogged and that the brushes are free from hair or debris.
Further Reading: Common Robot Vacuum Issues and How to Resolve Them
Automating Your Robot Vacuum Cleaning Routine
Curious about how to automate your vacuum? Modern robot vacuums allow full automation via app-based controls. Set custom cleaning routines, define no-go zones, and fine-tune for specific needs like robot vacuum sweeping in high-traffic or pet areas. Automation ensures a consistently clean space with minimal effort and is an essential feature for today's smart homes.
Conclusion
Using a robot vacuum daily saves time and effort. Set a cleaning schedule, keep it maintained, and remove obstacles to ensure top performance. A bit of maintenance will ensure your vacuum keeps your floors clean with little effort.
A robot vacuum is a smart investment for easy, efficient cleaning. Get started now and enjoy a cleaner home with less hassle!

