


Dust, tangled brushes, weak suction—sound familiar? Many robot vacuum owners find performance drops fast without proper care. Studies show regular maintenance can extend a robot vacuum’s lifespan by 2–3 years while cutting repair costs.
In this guide, you’ll learn the essential robot vacuum maintenance requirements: how to clean brushes, dustbins, and filters, keep sensors accurate, care for the battery, and even perform a full deep clean. We’ll also cover model-specific tips such as how to clean Narwal Freo Z Ultra, plus practical robot vacuum maintenance tips every user can apply. By the end, you’ll know exactly how to keep your device efficient, reliable, and long-lasting.
Benefits of Maintaining Your Robot Vacuum
-
Prolonged lifespan: Keeping your robot vacuum well-maintained ensures it lasts for years.
-
Consistent cleaning performance: A well-maintained vacuum performs at its best, ensuring your floors are always clean.
-
Reduced need for repairs: Regular upkeep can prevent many common issues, saving you from costly repairs.
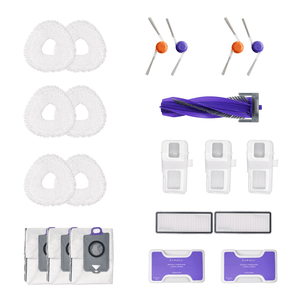
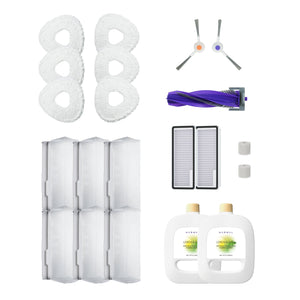
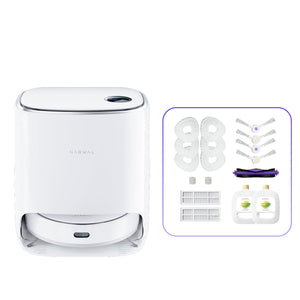
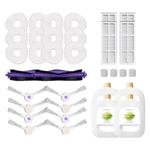
Gather Necessary Tools and Materials
Before you start, gather the following tools and materials:
-
Soft cloth
-
Brush or cleaning tool
-
Replacement filters
-
Mild detergent
-
Screwdriver (if needed)
-
Compressed air (optional)
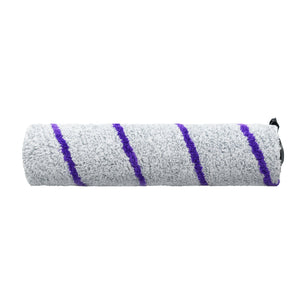
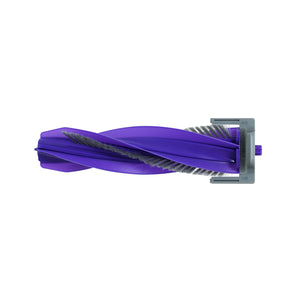
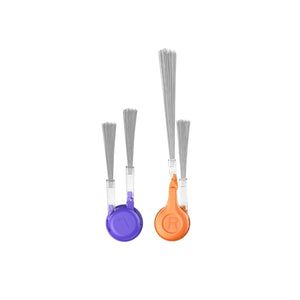
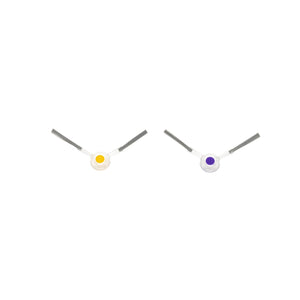
Keeping Your Robot Vacuum’s Brushes in Top Shape
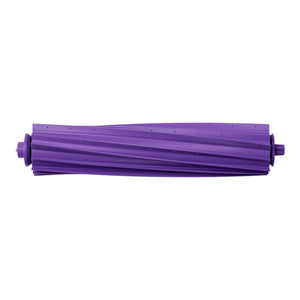
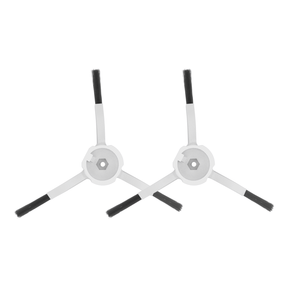
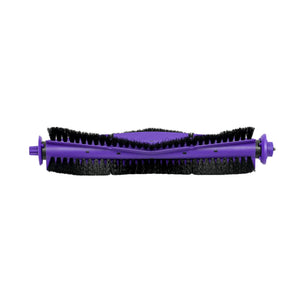
To care for the brushes, turn your robot vacuum upside down to easily access and clean them. The main brush is usually in the center—press or twist the clips to remove it. Side brushes are even easier—just unscrew them by hand.
Once out, cut through tangled hair with scissors or tweezers, and pull off any debris. If side brush bristles are bent, use a hairdryer on low heat to warm them, then straighten with your fingers. For really dirty brushes, rinse with warm water and mild detergent, but make sure they’re completely dry before reinstalling.
For Narwal cleaning, especially with models like the Freo Z Ultra, it is essential to check the unique brush design and follow the manufacturer's suggestions. Performing robot vacuum maintenance regularly, especially on the brushes, prevents issues and reduces the risk of repair. If you own a Narwal Freo, refer to our dedicated how to clean Narwal Freo section for specific instructions.

How often?
-
Weekly: For homes with pets, long hair, or lots of dirt.
-
Monthly: For lighter use.
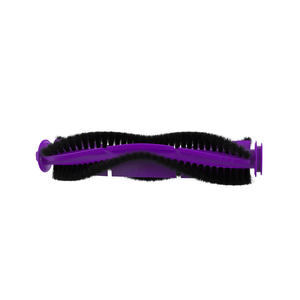
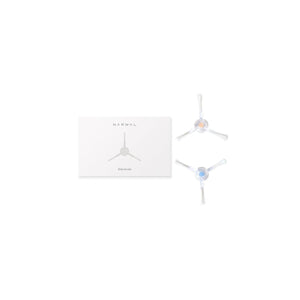
Replacing the Brushes
Brushes wear out over time. If you notice frayed bristles, cracks, or a drop in cleaning performance, it’s time for new ones.
Remove the old brushes (same as cleaning), then install the new ones. For the main brush, align it with the clips and press until it clicks. Side brushes just need to be screwed back on tightly.
How often?
-
Replace brushes every 6 to 12 months, depending on usage.
Handy Tips
-
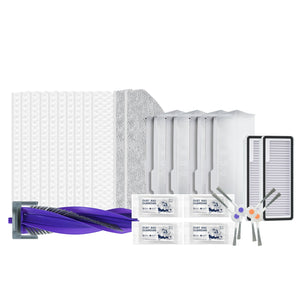
Spare Brushes: Keep an extra set for quick swaps.
-
Cleaning Kit: A kit with brushes and tweezers makes maintenance easier.
By cleaning and replacing brushes regularly, your robot vacuum will keep your floors spotless and run like new!
Quick Recap
-
Clean: Remove hair and debris weekly or monthly.
-
Replace: Swap out brushes every 6-12 months.
Simple steps, big results!
Keeping Your Robot Vacuum’s Dustbin Fresh and Clean
After every cleaning session, take out the dustbin (usually by pressing a release button) and empty it into the trash. If there’s stubborn dust, give it a good tap or shake. Rinse it with warm water—add a bit of mild detergent if it’s really dirty—and let it dry completely before putting it back.

How often?
-
After every use: If you’re cleaning a lot of dirt or pet hair.
-
Weekly: For lighter use.
Prevent Dustbin Odors
To keep your dustbin from smelling, sprinkle a little baking soda inside after cleaning. It’s great at absorbing odors. Make sure the dustbin is completely dry before reinstalling it—moisture can trap smells and even cause mold.
-
Better Performance: A clean dustbin keeps your robot vacuum running smoothly.
-
No Bad Smells: Regular cleaning and baking soda keep things fresh.
With these quick steps, your robot vacuum’s dustbin will stay clean, odor-free, and ready to tackle your floors!
Quick Recap
-
Clean: Empty, rinse, and dry after every use.
-
Prevent Odors: Use baking soda and ensure it’s dry before reinstalling.
Simple, right? A little maintenance goes a long way!
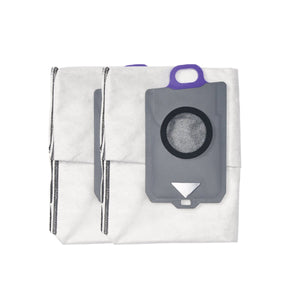
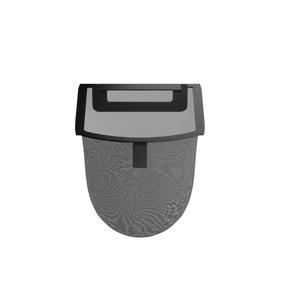
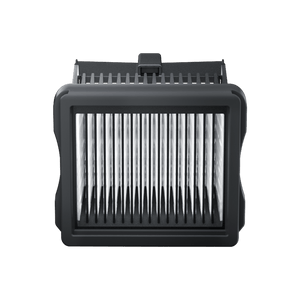
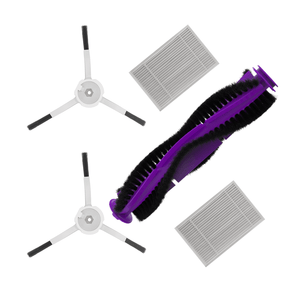
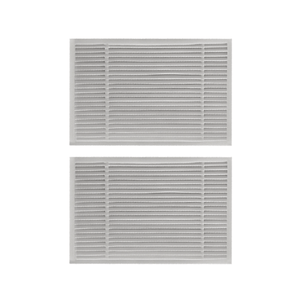
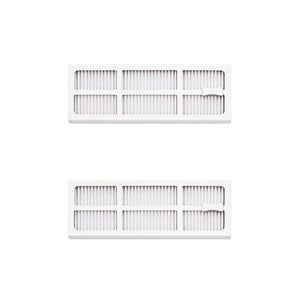
Keeping Your Robot Vacuum’s Filter in Top Shape
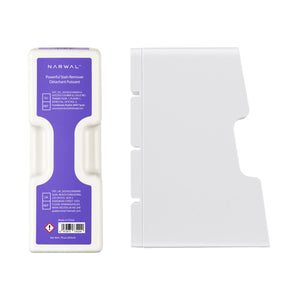
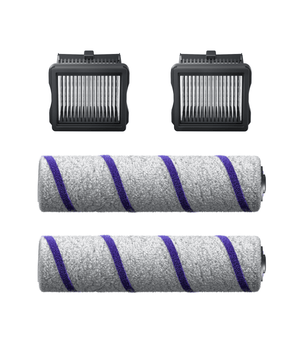
To maximize suction and cleaning results, follow these robot vacuum maintenance tips for filters. If you notice a decrease in suction or persistent odors, it's time to replace the filter—especially vital for robot vacuum maintenance of busy households or homes with pets. For owners of Narwal Freo Z Ultra or Narwal Freo, using genuine replacement filters is recommended for best results.

First, take the filter out (it’s usually easy to pop out). Rinse it under water to wash away all the dust—no soap needed! Then, let it dry completely for at least 24 hours. Don’t skip this step—putting a damp filter back in can mess with the suction or even cause mold. Once it’s dry, pop it back in, and you’re done!
How Often?
Clean it once a week, or more often if you’ve got pets or use your vacuum daily.
Why It Matters: A clean filter keeps your vacuum sucking up dirt like a pro and prevents weird smells. Plus, it’s way cheaper than replacing the whole vacuum!
Quick Tip: If the filter looks worn out or torn, it’s time to replace it. Otherwise, just rinse, dry, and repeat!
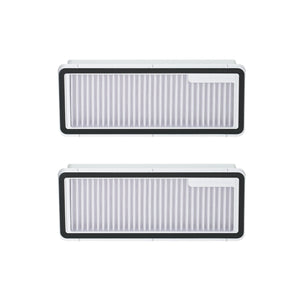
Time to Replace Your Filter? Here’s What to Do
Even the best filters don’t last forever. If your robot vacuum’s suction feels weak or there’s a weird smell, it’s probably time to replace the filter. Here’s how to do it:
-
Take Out the Old Filter: Most filters are easy to remove—just pull it out or press a release button.
-
Check for Damage: If the filter looks torn, clogged, or just too dirty to clean, it’s done its job.
-
Pop in the New One: Make sure the replacement filter matches your vacuum model, then slide it into place.
How Often Should You Replace It?
Plan to replace the filter every 2-3 months, but if you’re cleaning a lot of pet hair or dust, you might need to do it more often.
Keeping Your Robot Vacuum’s Wheels Rolling Smoothly
Let’s talk about maintaining the robot vacuum’s wheels—because if they’re not clean, your vacuum might start acting up. Here’s how to keep them in great shape:

Step 1: Check the Wheels
Flip your vacuum over and take a look at the main wheel, side wheels, and caster wheel. You’ll probably see hair, dust, or debris wrapped around them—this is totally normal, especially if you have pets or long hair.
Step 2: Clean the Wheels
-
Use your fingers or a pair of tweezers to pull out any hair or string wrapped around the wheels.
-
For stubborn dirt, try using a small brush or compressed air to blow out the gunk.
-
If the wheels are really dirty, wipe them down with a damp cloth (just make sure they’re dry before using the vacuum again).
Step 3: Spin the Wheels
After cleaning, give the wheels a spin to make sure they’re moving freely. If they feel stiff or stuck, there might still be debris hiding inside—time to grab those tweezers again!
How Often Should You Clean Them?
Aim to clean the wheels every two weeks, or more often if you’ve got pets or a lot of carpet. Regular cleaning keeps your vacuum moving smoothly and prevents wear and tear.
Keeping Your Robot Vacuum’s Sensors Sharp
Robot vacuum maintenance tips include regular sensor cleaning, especially for advanced models like the Narwal Freo Z Ultra. Dirty sensors can lead to common problems like poor navigation or getting stuck, so include them in your routine maintenance checklist. If they get dirty, your vacuum might start acting lost or confused. Here’s how to keep them working perfectly:
Step 1: Find the Sensors
Flip your vacuum over and look for the cliff sensors (usually small, round sensors on the underside) and the navigation sensors (often located on the top or sides). These are the spots that need your attention.
Step 2: Clean the Sensors
-
Use a soft, dry cloth to gently wipe the sensor surfaces. Avoid using water or cleaning products—they can damage the sensors.
-
If there’s stubborn dirt, you can lightly dampen the cloth with water, but make sure the sensors are completely dry before using the vacuum again.
Step 3: Check for Obstructions
While you’re at it, make sure nothing’s blocking the sensors, like dust or debris. A quick wipe should do the trick!
How Often Should You Clean Them?
Aim to clean the sensors once a month, or more often if you notice your vacuum acting a little lost. Regular cleaning keeps it navigating like a pro.

Taking Care of Your Robot Vacuum’s Battery
Your robot vacuum’s battery is its powerhouse, so caring for your robot vacuum’s battery is essential to keep it running smoothly. Here’s everything you need to know:
How to Charge It the Right Way
-
Always use the charger that came with your vacuum—off-brand chargers can damage the battery.
-
Let the battery charge fully before using the vacuum for the first time. After that, try to avoid letting it completely drain before recharging.
-
If you’re not using the vacuum for a while (like a vacation), store it with about 50% charge. Too much or too little charge can hurt the battery over time.
Avoid Over-Discharging
Letting the battery drain to 0% too often can shorten its lifespan. Try to recharge it when it hits around 20-30%. Most robot vacuums will alert you when the battery’s low, so keep an ear out for that beep!
When to Replace the Battery
Even with great care, batteries don’t last forever. If you notice your vacuum isn’t holding a charge like it used to, or it’s running out of juice way too fast, it’s probably time for a new battery. Replacing it is usually simple:
-
Turn off the vacuum and remove the battery (check your manual for the exact steps).
-
Insert the new battery, making sure it’s securely in place.
-
Charge it fully before using the vacuum again.
Quick Tips for Battery Longevity
-
Charge it regularly, but don’t leave it plugged in 24/7.
-
Keep the vacuum in a cool, dry place—heat can damage the battery.
-
Replace the battery every 2-3 years, depending on usage.
Models with larger batteries, such as Narwal Flow’s 6400mAh pack, can run longer on a single charge. Still, the same rules apply: avoid full discharges, keep the vacuum in a cool place, and recharge before it hits 0%.
[cta:flow-robot-vacuum-and-mop]
Keeping Your Robot Vacuum Smart: Software and Firmware Updates
Updates are like giving your robot vacuum a brain boost—they make it smarter and more efficient. Here’s the lowdown:
What’s the Deal with Updates?
Software and firmware updates fix bugs, improve cleaning performance, and even add cool new features. For example, your vacuum might get a new cleaning mode or learn to map your home better. Pretty neat, right?
How to Update
Updating is easy:
-
Open the app connected to your vacuum.
-
Check for updates in the settings or notifications section.
-
Tap “Update” and let it do its thing. Just make sure your vacuum is charged and connected to Wi-Fi!
How Often Should You Update?
Check for updates every month or so. Most vacuums will notify you when an update is ready, but it doesn’t hurt to check manually.

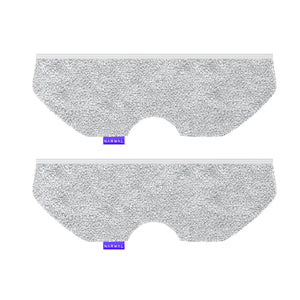
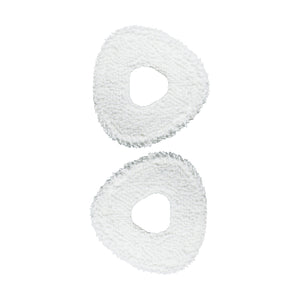
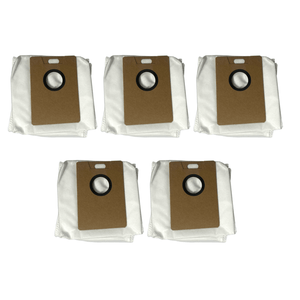
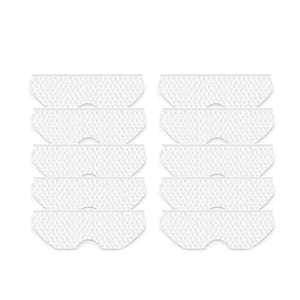
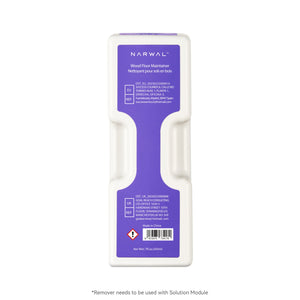
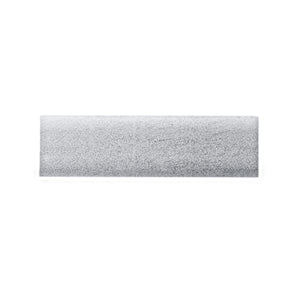
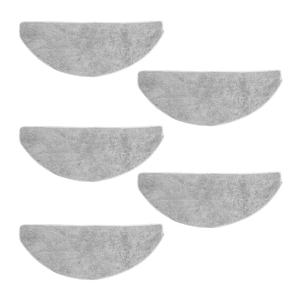
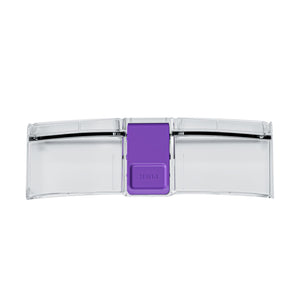
Mopping Pads
For robot vacuums with mopping functions, clean mopping pads are essential for effective mopping.
Cleaning the Mopping Pads
-
Remove the mopping pads: Follow your vacuum's instructions to remove the pads.
-
Rinse the pads: Rinse with water and mild detergent.
-
Dry the pads: Let them dry completely before reattaching.
Replacing the Mopping Pads
Replace the mopping pads when they become worn or discolored to ensure effective mopping.
How to Deep Clean Your Robot Vacuum
Routine care keeps your device running day-to-day, but every month or two it’s worth doing a full deep clean of your vacuum cleaner. Think of it as a health check that combines all the essential robot vacuum maintenance tips into one streamlined process.
Here’s a simple sequence to follow:
-
Empty and wash the dustbin – prevent odors and buildup.
-
Clean or replace the filter – restore airflow and suction.
-
Detangle and wash the brushes – remove hair and dirt.
-
Check the wheels – ensure smooth rolling.
-
Wipe the sensors – improve navigation accuracy.
-
Inspect the battery and charging contacts – extend runtime and lifespan.
For detailed steps on each part, see the dedicated sections above (brushes, filters, sensors, and more). A full deep clean takes less than 30 minutes and can add years to your robot vacuum’s lifespan. Even if your device has a self-cleaning system—like the FlowWash feature in Narwal Flow—a full manual deep clean every month or two ensures hidden dust, hair, and residue don’t affect performance.
Troubleshooting Common Issues
Even the best robot vacuums can run into problems, but don’t worry—most issues are easy to fix! Here’s a quick guide to troubleshooting common problems:
-
Reduced Suction Power
-
Possible Causes: Clogged filter, blocked dustbin, or tangled brush roll.
Quick Fix: Clean or replace the filter, empty the dustbin, and remove debris from the brush roll. -
Possible Causes: Dirty sensors, obstacles in the way, or outdated software.
Quick Fix: Clean the sensors, clear the vacuum’s path, and update the firmware. -
Battery Issues
-
Possible Causes: Dead battery, dirty charging contacts, or improper charging habits.
Quick Fix: Clean the charging contacts, charge regularly, and replace the battery if needed. -
Robot Vacuum Not Starting
-
Possible Causes: Dead battery, power button issue, or a need for reset.
Quick Fix: Charge the vacuum, check the power button, or perform a reset. -
Possible Causes: Obstacles like cords, rugs, or furniture.
Quick Fix: Clear the area and use boundary strips to block problem zones. -
Possible Causes: Debris in the brush roll or a loose part.
Quick Fix: Clean the brush roll and check for loose components.
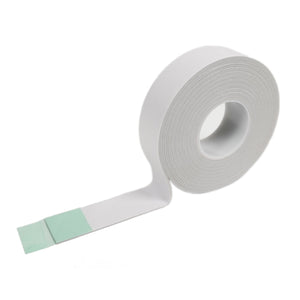
Preparing Your Home as Part of Robot Vacuum Maintenance
Preparing your home is often overlooked in many robot vacuum maintenance tips, but it’s actually one of the most important maintenance requirements. A robot-friendly space reduces wear on parts and makes every cleaning session—and future maintenance—more effective.
-
Clear obstacles: Removing toys, cables, and clutter prevents brush tangles and wheel jams.
-
Adjust rugs and mats: Rolling up small rugs or moving loose mats avoids unnecessary strain on wheels and mops, supporting long-term mop maintenance.
-
Docking station placement: Position the base station against a wall with clear space around it. For example, Narwal Freo Z Ultra users should follow official Narwal cleaning and maintenance guidelines to keep charging and self-cleaning functions running smoothly.
-
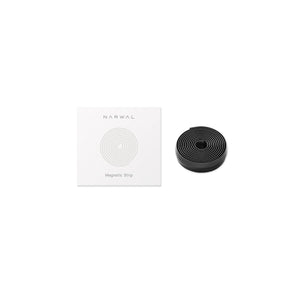
Set virtual boundaries: Use no-go zones to keep the vacuum away from stairs, wet areas, or pet feeding zones—helping sensors stay cleaner for longer.
By treating home preparation as part of your robot vacuum maintenance routine, you extend lifespan, reduce repair needs, and ensure your Narwal or Roomba runs efficiently day after day. Smart navigation systems, such as Flow’s dual-camera AI obstacle avoidance, reduce the chance of getting stuck. But clearing cables and clutter remains an important part of robot vacuum maintenance.
Final Tips
-
Set a maintenance schedule: Establish a regular maintenance routine to keep your robot vacuum in top condition.
-
Refer to your manual: Always refer to your robot vacuum's manual for specific care instructions and recommendations.
-
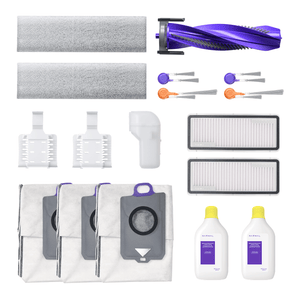
Invest in quality parts: Use high-quality replacement parts to ensure optimal performance and longevity.
Additional Resources and Support Options
For more detailed guidance, consult the manufacturer's website or reach out to customer support. Joining online communities and forums can also provide valuable tips and tricks from fellow robot vacuum owners.
Limitations of Robot Vacuums in Maintenance
So, what are the negatives of robot vacuums when it comes to upkeep? While these devices save time, they still have limitations that owners should understand as part of their robot vacuum maintenance routine:
-
High maintenance needs: Filters, brushes, and sensors must be cleaned or replaced regularly, or performance will drop quickly.
-
Not a full replacement for manual cleaning: Even well-maintained robots can’t handle stairs, very deep carpets, or large debris, so occasional manual cleaning is still required.
-
Part and battery costs: Over time, you’ll need to replace brushes, filters, and especially the battery. For heavy users, this can make robot vacuums expensive to run.
-
Environmental limits: Robots can get stuck on cables, rugs, or clutter, which means part of “maintenance” is also preparing your home.
Understanding these limitations also gives context to how long your robot vacuum may last and when replacement makes sense.
How Long Do Robot Vacuums Last?
So, what is the lifespan of a robot vacuum? On average, most models last 4–6 years, though some high-end devices can reach 7 years or more with proper care. In general, how long the average robot vacuum lasts depends on two main factors:
-
Usage environment: Homes with pets, kids, or heavy dust will shorten the machine’s lifespan.
-
Maintenance habits: Regularly cleaning brushes, filters, and sensors can add years to your device.
But how often should you change your robot vacuum entirely? It’s time to consider a replacement when:
-
The battery no longer holds charge even after replacement.
-
Suction power and navigation decline despite proper maintenance.
-
Repair costs approach the price of a new model.
With consistent maintenance, your robot vacuum can stay reliable for many years—but knowing when to upgrade ensures you always get efficient cleaning.
FAQs
Is it okay to run a robot vacuum every day?
Yes, daily cleaning is fine—especially for homes with pets or heavy dust. Just make sure the battery is well cared for to avoid early wear.
Do robot vacuums use much power?
Not really. They consume far less electricity than traditional vacuums, often adding only a few dollars a year to your bill.
What if my robot vacuum runs over pet waste?
Turn it off, remove the bin and brushes, and wash thoroughly with soap and disinfectant. Avoid relying on self-cleaning features for this.
Can robot vacuums detect pet messes?
Some advanced models can recognize obstacles like pet waste, but no system is 100% reliable. Regular supervision is still needed.
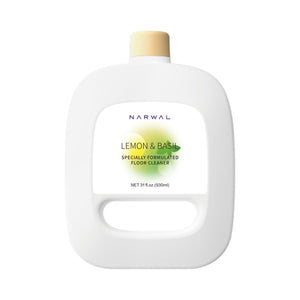
Can I use vinegar in my robot vacuum?
No. Vinegar can damage internal parts. Use plain water or a manufacturer-approved cleaner.
What cleaning solution is safe for robot vacuums?
Stick to water or dedicated cleaning solutions designed for robot vacuums. Avoid harsh soaps or chemicals.
How often should a robot vacuum be cleaned?
Clean brushes and the dustbin weekly for heavy use, or monthly for light use.
When should I replace the rollers?
Usually every 6–12 months, depending on how often you run the vacuum and your floor type.
What should I do with an old robot vacuum?
Recycle it at an electronics center, trade it in if possible, or donate it if it still works.
Quick Recap: Keep Your Robot Vacuum Happy!
Taking care of your robot vacuum doesn’t have to be a chore. From cleaning the filter and brushes to keeping the sensors spotless and the battery charged, a little maintenance goes a long way. Don’t forget those software updates—they’re like giving your vacuum a brain boost!
With these simple tips, your robot vacuum will stay in top shape, and your floors will stay spotless. Easy, right? Now go enjoy your clean home while your vacuum does all the work!


